How to Boost GSM Signal On iPhone to Get Better Reception 2019 Guide
Experienced bad mobile signal is frustrating enough when you’re out of home. But a bad signal when within your residence? Sigh. So if your calls are cutting out or dropping, it’s time to learn how to boost GSM signal on iPhone.

Some things in smartphone service/signals can’t be changed. For instance, the signal can be distorted by other radio wave signals, but it isn’t feasible to switch off your WiFi router every time you receive a call within your premises. Likewise, it’s not possible to change houses so that you get closer to a network vendor’s tower or into an apartment with good signals.
7 Ways to Boost GSM Signal on iPhone for Better Reception
Fortunately, there are several ways to boost GSM signal on iPhone, so browse through the list and get the bars back on that signal before it drives you nuts. Before you start, we recommend you to enter the field test mode to see the iPhone GSM signal in numerical values.
1. Take Off The iPhone’s Back Cover/Case
While it might sound odd, do yourself a favor and give this step a go. Cases that are bulky can impede reception and muffle sound, mostly when the case is manufactured with metal (or features it). Hence, try removing the case, to see if it solves the issue.

If you see a significant difference after removing the case and there’s and you’re able to boost GSM signal on iPhone, then it’s certain that your case was the cause of weak cell reception. You can replace it with an unproblematic case, or make it a habit of living case-free.
2. Try WiFi Calling
This method enables you to make calls with your home WiFi network. It’s similar to using a VoIP system. If you’re receiving weak signal reception and poor data, the WiFi is a better alternative. Many network carriers provide the ability to switch to WiFi calling on your handset. Get in touch with your carrier for details, as it may cost additional money.
To switch to WiFi calling, go to Settings and tap Phone. You’ll find the WiFi calling feature there. And remember, the step works best when you have a good amount of bandwidth and a strong WiFi signal.
3. Reset Device’s Network Settings
As a basic step, go to Settings and first enable Airplane Mode and then switch it off. Or enable and disable Airplane mode from the Control Center of your device. This should force your mobile device to attempt to reconnect and find a signal, which may solve your problem. Additionally, you can check to see if there are any OS updates available – this could also address problems and bugs that might have been resulting in signal problems.

You can also reset network settings by going to “Settings” – “General” – “Reset” – “Reset Network Settings”, although this could take a while to reconnect.
See Also: How to Boost WiFi Network Signal on iPhone
4. Get a Cell Phone Signal Booster
A signal booster for cell phone is a gadget that takes the signal targeted toward the user’s home and exaggerates it while distortion is cleaned up (when possible), to regenerate it as a strong signal throughout the house. These boosters can be configured in a similar fashion as WiFi routers, but there may be additional parts to install (extracting the internet connection that’s a necessity).

Overall, cell phone signal boosters can turn out to be an excellent buy if your signal experiences dead zones or distortion issues. Users can choose from several different types based on their needs. The con of using these is that they easily cost $100 to $200, so they’re a costly alternative to other options. However, it’s worth paying a visit to your network carrier’s official website to see if any deals are available on certain signal boosters. Get a booster that works with the vendor. Who knows, you might end up saving some money.
5. Try a Signal Finding Map App
There’s a variety of applications on the App Store that can help you discover the strongest WiFi or mobile signals in your locality based on details provided by cellphone vendors or by leveraging crowd-sourced data. While you won’t see an improvement with the touch of a button, these apps will help you locate the best area to get a good chance of decent reception, without requiring you to walk around.

Additionally, it’s worth knowing where the nearest WiFi hotspot is when you’re in a new place and need to use the internet quickly without accumulating data charges.
6. Try Other Carriers
It could be that your carrier doesn’t have the right positions or a tower close enough to provide good reception. If poor signals are nagging you, consider analyzing the towers in your locality to see if any carrier is utilizing a tower that’s near or in a better range (it’s not blocked by skyscrapers, for instance).
If it seems you can get better signals by switching to a new carrier, then do it by all means. Look for carriers, discounts, and deals that will provide cover to your cancellation charges. A lot of savings are available if you search carefully.
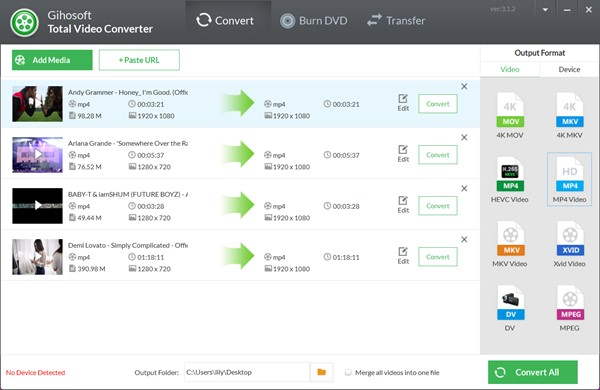
Gihosoft Total Video Converter is a professional all-in-one video tool that enables you to convert videos and audios into various different formats. You can also download videos from YouTube or other online video sharing sites and convert them easily. Plus, you’re able to personalize your videos with its inbuilt editor, such as, trimming, cropping, applying video effects, adding watermark, subtitles, and more. If you need a powerful and professional desktop video converter program, just download Total Video Converter and follow the step-by-step guide here to have a try.
Poor network may lead to some problems on your iPhone, for instance, contacts duplicating in a sudden. To efficiently manage your contacts and free some space, it is necessary to
delete multiple contacts on your iPhone regularly. If you accidentally lost contacts but have no backup, you can use
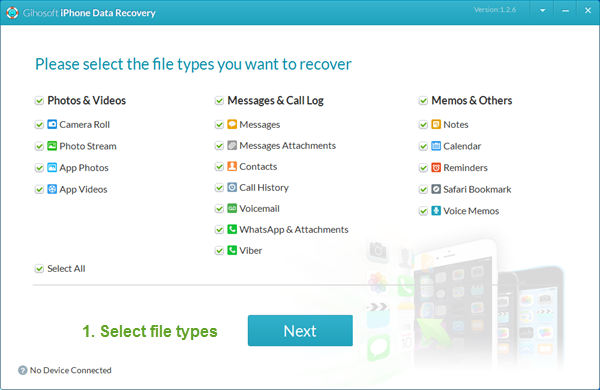
Gihosoft iPhone Data Recovery to
retrieve contacts without any backup. This software is a professional and powerful tool for any iOS device user to easily get back their deleted data like messages and photos from iPhone or iPad, with its efficient engine and easy-to-use interface.